How To Hang a Heavy Mirror on Drywall with Glue
Hanging a heavy mirror securely on drywall presents unique challenges. While traditional methods involving wires and hooks might suffice for lighter mirrors, heavier ones require a more robust approach. Using specialized mirror adhesive, combined with proper preparation and execution, provides a safe and effective solution.
Key Considerations Before Starting
Several factors influence the success of this project. Careful assessment of these elements avoids potential issues later.
- Mirror Weight: Ensure the chosen adhesive is rated for the mirror's weight. Exceeding the adhesive's weight limit can lead to the mirror falling, causing damage and potential injury.
- Drywall Condition: Damaged or unstable drywall requires repair before proceeding. A solid backing provides essential support for the mirror and adhesive.
- Wall Studs: Locating wall studs helps determine optimal placement. While adhesive is the primary support, aligning the mirror with studs adds further stability, especially for exceptionally large or heavy pieces.
- Mirror Backing: The mirror's backing material affects adhesion. Some backings might require specific preparation techniques for optimal bonding with the adhesive.
- Environmental Factors: Temperature and humidity during installation and throughout the mirror's lifespan can influence adhesive performance. Consult the adhesive manufacturer's recommendations for suitable temperature and humidity ranges.
Gathering the Necessary Tools and Materials
Having the correct tools and materials on hand streamlines the process and ensures a smooth installation.
- Heavy-Duty Mirror Adhesive: Select an adhesive specifically designed for mirrors and rated for the weight of the mirror. Read product specifications carefully.
- Stud Finder: This tool helps locate wall studs for optimal placement and additional support.
- Level: Ensures the mirror hangs straight and even.
- Measuring Tape: Accurate measurements are crucial for proper placement and alignment.
- Pencil: Marking the desired position on the wall guides accurate installation.
- Safety Glasses: Protect eyes from potential debris during installation.
- Gloves: Protect hands and ensure a clean working environment.
- Cleaning Supplies: Includes a cleaner suitable for drywall and the mirror's backing, as well as clean cloths.
- Mirror Support (Optional): Temporary supports can be used to hold the mirror in place while the adhesive cures, especially for larger, heavier mirrors.
Preparing the Wall and Mirror
Proper preparation is vital for strong adhesion and a lasting result. This includes ensuring both the wall and mirror back are clean and ready for bonding.
- Clean the Wall: Thoroughly clean the designated wall area with a suitable cleaner to remove dust, dirt, or grease. Allow the wall to dry completely.
- Locate Studs: Use a stud finder to locate and mark the wall studs. These markings guide mirror placement, even when primary support relies on the adhesive.
- Mark Mirror Placement: Using the measurements taken earlier, carefully mark the desired mirror position on the wall with a pencil.
- Clean the Mirror Backing: Clean the back of the mirror with a suitable cleaner according to the manufacturer’s instructions. A clean surface is essential for optimal adhesion.
Applying the Adhesive and Mounting the Mirror
Careful application of the adhesive and proper mounting technique ensure the mirror hangs securely.
- Apply Adhesive: Following the manufacturer's instructions, apply the adhesive to the back of the mirror. Create a pattern of vertical lines or dots of adhesive, ensuring even coverage across the mirror's back. Avoid applying adhesive too close to the edges to prevent it from squeezing out during mounting.
- Position the Mirror: Carefully align the mirror with the marked placement on the wall. Press the mirror firmly against the wall, ensuring even contact with the adhesive.
- Provide Temporary Support (if needed): For large or heavy mirrors, use temporary supports to hold the mirror in place while the adhesive cures. These supports relieve stress on the adhesive during the curing process.
- Allow Adhesive to Cure: Follow the adhesive manufacturer's instructions regarding curing time. Avoid disturbing the mirror during this period to allow the adhesive to achieve maximum strength.
Post-Installation Considerations
After installation, a few final steps ensure the longevity and safety of the mounted mirror.
- Inspect the Mirror: Once the adhesive has fully cured, inspect the mirror to ensure it is securely attached to the wall. Gently press on different areas to check for any movement or instability.
- Remove Temporary Supports (if used): If temporary supports were used, carefully remove them after the adhesive has fully cured.
- Clean the Mirror: Clean the mirror surface with a suitable glass cleaner to remove any fingerprints or smudges that may have occurred during installation.
By following these steps and using the correct materials, one can successfully hang a heavy mirror on drywall with glue, creating a secure and aesthetically pleasing addition to any space.
How To Hang A 100 Pound Mirror On Drywall Quora

How To Hang A Large Or Heavy Mirror

How To Hang A Heavy Mirror On Drywall Stas Picture Hanging Systems
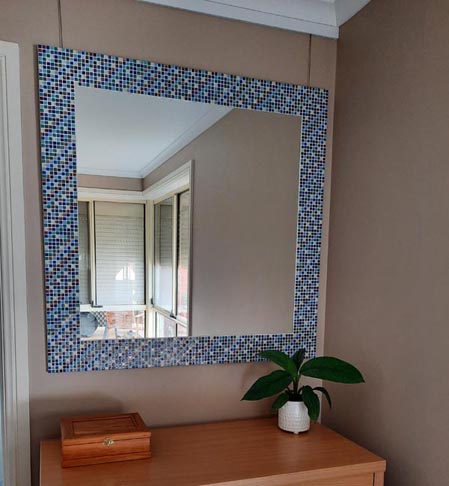
How To Hang A Very Heavy Picture Or Mirror The Best

How To Hang A Heavy Mirror With Pictures Wikihow

How To Hang A Wall Of Mirrors The Handyman

How To Hang A Heavy Mirror With Pictures Wikihow

Mounting A Mirror On Drywall Top 8 Ways For Savvy Handyman

How To Hang A Heavy Mirror With Pictures Wikihow

How To Hang A Heavy Mirror Without Nails 4 Alternative Ways Homelyville

